
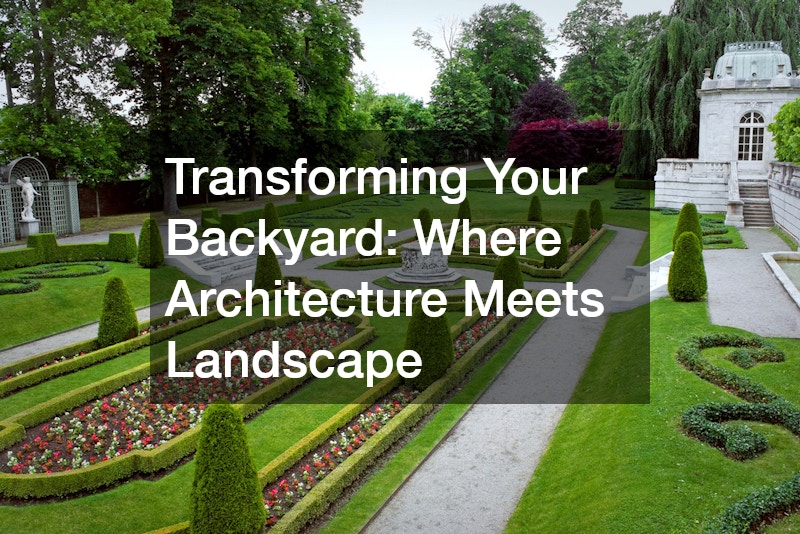
A backyard renovation is more than picking out furniture or planting a few flowers along the fence line—it is an opportunity to reimagine how you live, entertain, and relax outside your own back door. Many homeowners feel overwhelmed by the sheer number of decisions involved, from choosing materials to figuring out how structures and greenery should work together. The good news is that with a bit of planning, you can turn a patch of grass into a cohesive outdoor retreat that reflects your lifestyle. This guide walks through the key elements to consider so you can approach your project with confidence rather than guesswork.
Starting with a Vision for Your Outdoor Space
Before any shovel hits the dirt, it helps to step back and think about how you actually want to use your backyard. Do you picture quiet mornings with coffee, big weekend gatherings, or a play area for kids and pets? Answering these questions early prevents costly changes later and gives every future decision a clear purpose.
This is where custom landscape design becomes valuable, because it takes your specific goals, budget, and property quirks into account rather than applying a one-size-fits-all layout. A thoughtful design process maps out zones for dining, lounging, gardening, and play so the space feels intentional instead of cluttered. It also considers sightlines from inside your home, so the view from your kitchen or living room windows is part of the plan.
Laying the Groundwork with Hardscaping
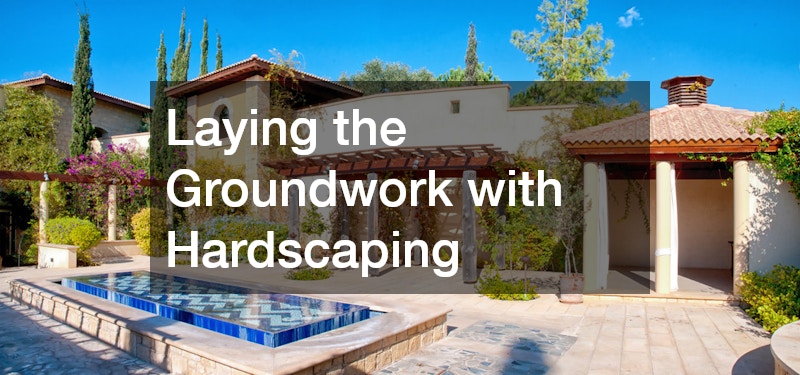
Hardscaping refers to the non-living elements of your yard, such as walkways, walls, patios, and retaining structures, and it forms the backbone of nearly every successful backyard transformation. These features add structure and define how people move through the space, which is especially important if your yard has slopes, drainage issues, or awkward angles. Getting this foundation right early on makes everything else, from planting beds to seating areas, look more polished.
Materials matter as much as layout. A bluestone or paver patio can handle heavy foot traffic and freeze-thaw cycles, while poured concrete offers a cleaner, more modern look at a lower cost per square foot. Retaining walls built from natural stone or segmental block can turn a steep slope into usable, terraced space instead of wasted yard.
Before any digging begins, consider grading and drainage: a slope of roughly 2% away from the house prevents water pooling near the foundation. It’s also worth having utility lines marked and checking local permit requirements, since walls over a certain height or patios near property lines often need approval. Skipping this step is one of the most common—and costly—mistakes homeowners make.
Stone masonry is one of the most durable and visually striking ways to build retaining walls, steps, and garden borders that hold up against weather and heavy use. Natural options like fieldstone, limestone, and granite each bring a different texture and price point, with dry-stacked walls offering a rustic look while mortared masonry provides extra structural strength for taller or load-bearing walls. Because well-built stone features can last 50 years or more with minimal upkeep, they’re worth the higher upfront investment for anyone planning to stay in their home long-term.
Brick patios remain a popular choice for their classic look and long lifespan, offering a warm, textured surface that pairs well with almost any home style. Standard clay brick can handle freeze-thaw cycles better than many alternatives, and laying patterns like herringbone, basketweave, or running bond let you add visual interest without changing materials.
Both options come in a range of colors and patterns, so you can match your hardscaping to your home’s existing architecture rather than fighting against it. When choosing between the two, consider maintenance needs, local climate, and how each material will transition into surrounding plantings or lawn areas.
- Stone masonry works well for retaining walls on sloped yards, with dry-stacked designs handling grades up to 4 feet before engineering approval is needed
- Brick patios offer slip resistance and require minimal upkeep, making them a smart choice for pool decks or high-traffic dining areas
- Both materials can be sealed to resist moss, staining, and cracking, though sealant should be reapplied every 2-3 years depending on climate exposure
- Mixing stone and brick creates visual contrast between zones, such as using stone for a rugged garden border and brick for a formal entertaining area
- Consider local freeze-thaw cycles when choosing mortar type, since improper bonding can lead to premature cracking in colder regions
- Budget roughly $15-30 per square foot for professional installation, with natural stone typically costing more than standard clay brick
Designing Your Outdoor Living Room
Once the ground layout is settled, many homeowners turn their attention to creating a dedicated space for relaxing and entertaining outside. A raised platform gives a room-like feel to an otherwise open yard, separating the lounging area from the lawn or garden beds. Even a modest elevation of 6 to 12 inches can visually define the space, while built-in bench seating or a low perimeter wall reinforces the sense of enclosure without blocking sightlines.
This is typically where a deck contractor earns their keep, helping you choose materials, framing, and railing styles suited to your climate and how much sun or rain the area receives. Composite decking resists warping and fading in intense sun, while pressure-treated wood offers a lower upfront cost but demands more upkeep in humid regions.
A skilled deck contractor will also factor in drainage, footing depth for frost lines, and railing spacing that meets local building codes—details easy to overlook but costly to fix later.
Overhead structures add comfort and character to these spaces, and a pergola is one of the most popular choices for softening the transition between indoors and out. It provides partial shade without fully enclosing the area, and climbing plants like wisteria, clematis, or trumpet vine can be trained along its beams for a more organic look over time. A standard pergola spans roughly 10 by 12 feet, though sizing should match the deck’s footprint and the seating arrangement it’s meant to shelter.
Material choice affects both maintenance and mood: cedar and redwood offer a warm, traditional look but need periodic sealing, while aluminum or vinyl versions require little upkeep and suit a cleaner, modern aesthetic. For homeowners who want adjustable shade, louvered-roof pergolas let you control sunlight throughout the day and close off protection during light rain.
Pairing a pergola with your deck creates a defined outdoor room that feels finished rather than exposed. Adding string lights, a ceiling fan, or hanging planters along the crossbeams further reinforces that sense of enclosure, making the space feel like a genuine extension of the home’s living area rather than an afterthought.
- Composite decking resists rot, insects, and fading, needing far less sanding, staining, or sealing than traditional wood
- Pergolas can be fitted with retractable canopies or louvered roofs for adjustable shade and rain protection
- Built-in lighting—recessed deck lights, step lights, or post cap fixtures—extends usability into the evening and improves nighttime safety
- Railing height and spacing should meet local building codes, typically 36 inches for residential decks and no more than 4 inches between balusters
- Choose weather-resistant fasteners and hardware to prevent rust stains and structural weakening over time
- Consider deck orientation relative to sun exposure to maximize comfort during peak outdoor living hours
Considering a Water Feature for Everyday Enjoyment
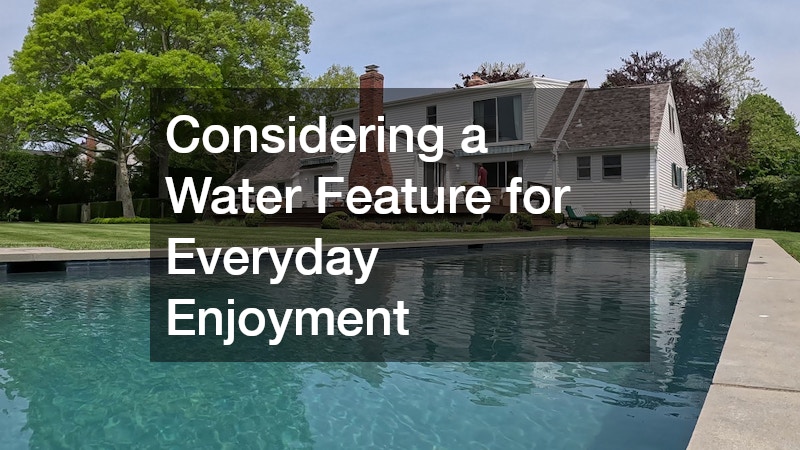
Water features can transform a backyard from a place you occasionally sit in to a destination you use daily. The scale and style you choose should match both your available space and how much time you realistically want to spend on upkeep. It’s worth thinking through maintenance commitments honestly before committing to a larger installation.
An inground pool is the most substantial water feature many homeowners consider, and it works best when planned alongside the rest of the landscape rather than as an afterthought. Positioning matters for sun exposure, privacy, and proximity to seating areas, and surrounding materials should coordinate with existing hardscaping so the pool doesn’t look like a separate project bolted onto the yard. Fencing and safety features around the pool area also need to be factored into the layout from the start.
- Fiberglass, vinyl liner, and concrete pools each have different cost and durability profiles
- Pool placement should account for prevailing wind and afternoon sun
- Automatic covers reduce debris and heating costs
- Nearby plantings should be low-litter to reduce pool maintenance
Marking Boundaries and Adding Privacy
Boundaries do more than mark where your property ends; they shape how private, safe, and enclosed your backyard feels. A well-chosen perimeter can also serve as a backdrop for planting beds or a support structure for outdoor lighting. Before making changes, it’s worth checking local regulations regarding height limits and property lines.
Working with experienced fence builders ensures the structure is not only attractive but properly anchored to handle wind, soil shifts, and seasonal temperature changes. Materials range from classic wood picket styles to low-maintenance vinyl and modern metal panels, each offering different levels of privacy and upkeep. Proper fence installation also involves grading and post-setting techniques that prevent leaning or warping years down the road, which is why this step benefits from professional attention even if the rest of the project is more DIY-friendly.
- Wood fencing offers a natural look but needs periodic staining
- Vinyl fencing resists rot and fading with minimal maintenance
- Metal and aluminum fencing suits pool areas due to durability
- Gate placement should align with walkways for easy access
Keeping Your Landscape Healthy and Green
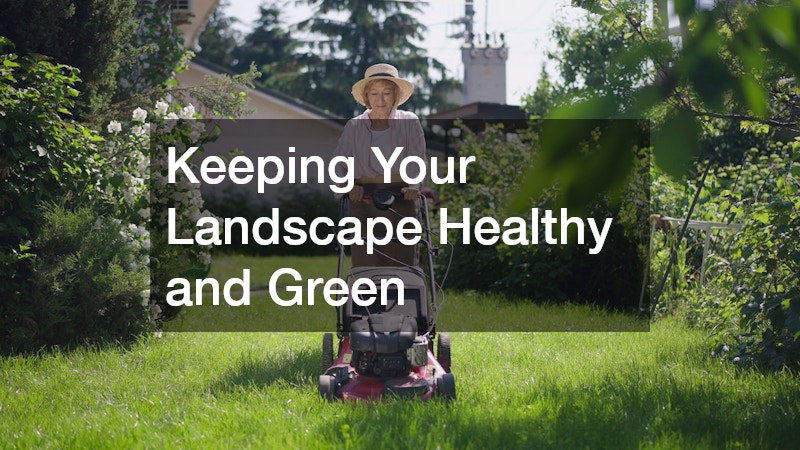
Structures and hardscaping set the stage, but living greenery is what makes a backyard feel warm and inviting. Healthy lawns and well-placed plantings soften hard edges and tie architectural elements together visually. Regular care is what keeps this greenery looking intentional rather than neglected.
Many homeowners find that partnering with lawn care companies for seasonal fertilization, aeration, and weed control saves time and produces more consistent results than occasional DIY treatments. Trees add shade, structure, and long-term value to a property, but they also require monitoring for disease, storm damage, and overgrowth near structures. Bringing in tree services for pruning or removal ensures the work is done safely and without damaging nearby patios, decks, or fencing.
- Aeration and overseeding in fall improve lawn density
- Mature trees should be inspected annually for structural issues
- Proper pruning encourages healthy growth without weakening branches
- Mulching around tree bases helps retain soil moisture
Balancing Sun, Shade, and Airflow
The comfort of your backyard depends heavily on how sunlight and airflow move through the space throughout the day. A yard that bakes in direct afternoon sun will feel very different from one shaded by mature trees or structures. Understanding these patterns before finalizing your layout helps you place seating, dining, and play areas where they’ll actually get used.
Simple observation over a few days can reveal a lot, such as which corners stay shaded until noon or where breezes tend to funnel through fence lines. Adjustable shade solutions, strategic plantings, and thoughtful structure placement can all help balance these conditions without major construction. This kind of planning also reduces energy costs indoors, since shaded outdoor areas can lower the heat reaching your home’s exterior walls.
- South-facing yards typically need more shade structures
- Deciduous trees provide summer shade and winter sun
- Fencing height can be adjusted to redirect airflow
- Reflective surfaces near seating areas can increase perceived heat
Setting a Realistic Budget and Timeline
Backyard transformations often expand in scope once homeowners start exploring options, so setting a clear budget early helps keep the project grounded. It’s useful to separate must-have elements from nice-to-have upgrades, so decisions can be made quickly if costs shift during construction. Getting multiple quotes for major components also gives a clearer picture of fair market pricing in your area.
Timelines depend heavily on the scope of work, weather conditions, and how many different trades are involved in the project. Larger installations, such as pools or extensive hardscaping, often require permits that add administrative time before physical work even begins. Building in a buffer of a few extra weeks helps manage expectations and reduces frustration if delays occur.
- Get at least three quotes for major structural work
- Factor permit costs and processing time into your schedule
- Prioritize structural and drainage work before cosmetic upgrades
- Set aside 10 to 15 percent of your budget for unexpected costs
Maintaining Your Investment Year After Year

A completed backyard is not a finished project so much as an ongoing relationship between you and the space. Seasonal upkeep protects the value of everything you’ve installed, from sealing patio stone to inspecting fence posts for shifting. Setting a simple annual checklist can prevent small issues from turning into expensive repairs.
Spring and fall are typically the best times for deeper maintenance tasks, such as checking drainage around structures, resealing wood surfaces, and clearing debris from water features. Staying consistent with this routine keeps your backyard looking as good in year five as it did on the day it was completed. It also makes future updates easier, since you’re working from a well-maintained baseline rather than starting repairs from scratch.
- Inspect deck boards and railings each spring for loose fasteners
- Reseal stone and brick surfaces every one to three years
- Clear gutters and drains before heavy rain seasons
- Check fence posts annually for shifting or rot
Transforming a backyard into a true extension of your home takes planning, patience, and a willingness to think about how architecture and landscape support each other rather than compete. Whether you’re starting with a single patio upgrade or a full redesign, breaking the project into manageable stages makes the process far less overwhelming. Take time to research local professionals, compare materials, and set a realistic budget before committing to any single element. With a clear plan in hand, you’ll be well positioned to create an outdoor space you actually look forward to using.
